How To Make a Forest Themed Nursery
Making a forest themed room for our little guy!
Brian McKinnon
9/12/20256 min read
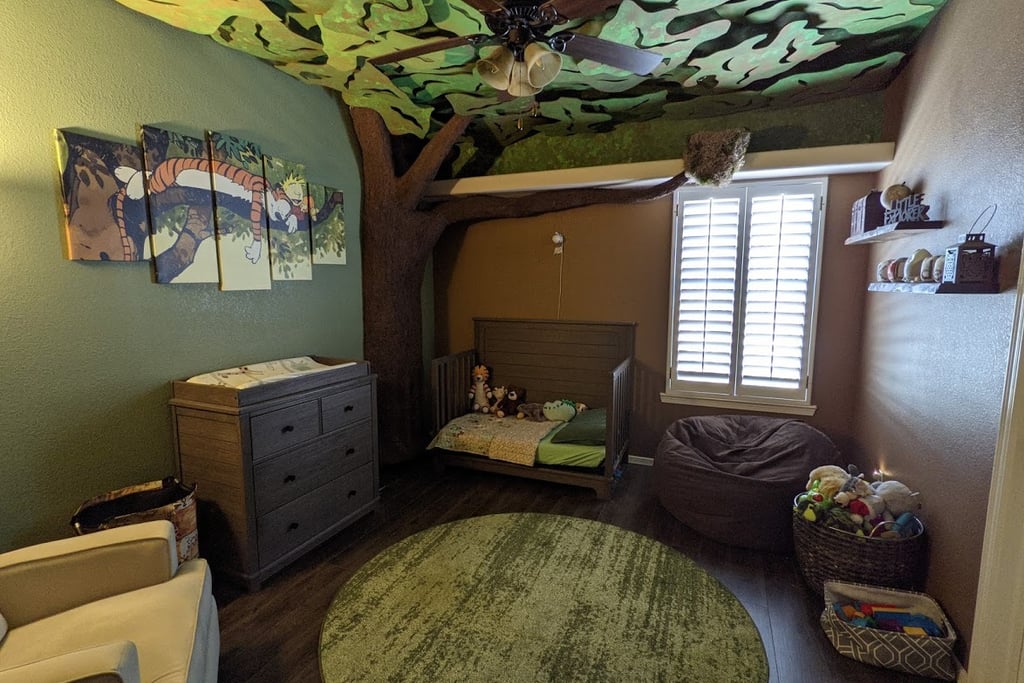
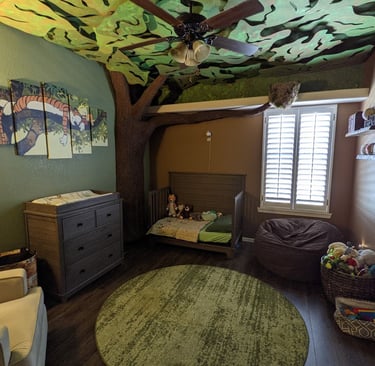
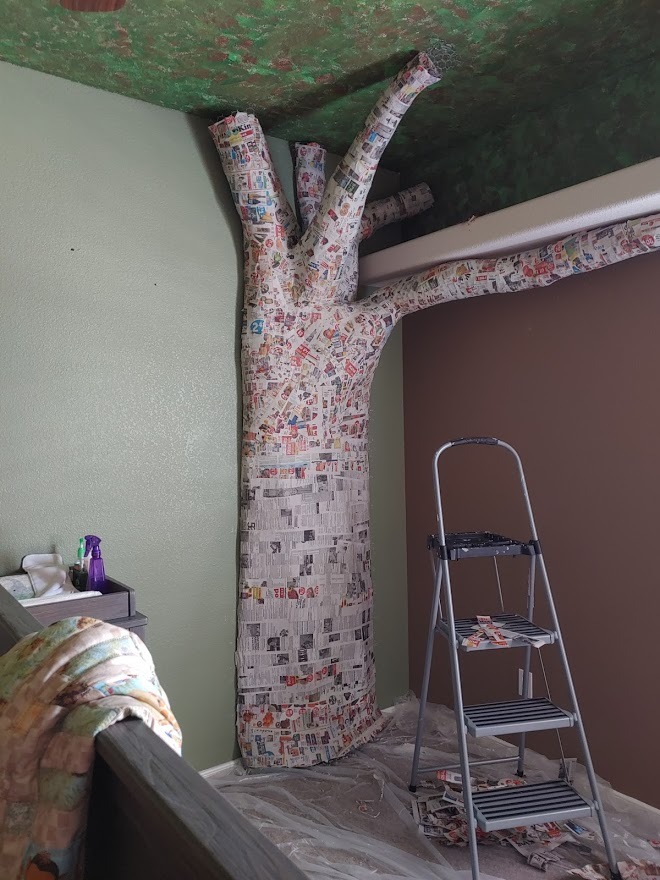
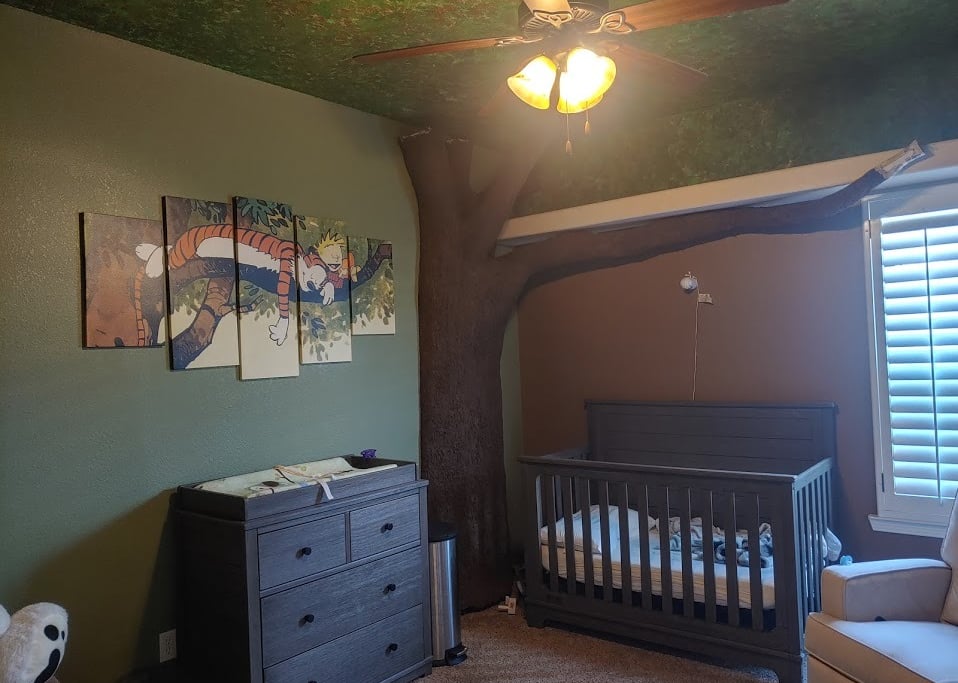
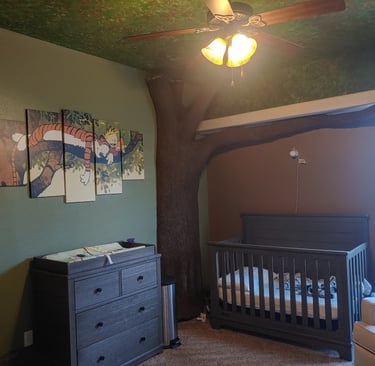
We live in the desert. When we found out we were having a baby, my wife decided she wanted a Forest/Calvin and Hobbes themed nursery complete with a lifelike tree. She couldn't find anything like it on the internet, so she used her creative side to design and create a one of a kind room for our little man.
Materials:
Paint - Kelly Green, Spring Green, Nutmeg Brown, Burnt Umber, and Chestnut
Sponge
Newspaper
Painter's tape
Chicken wire
Lath screws 1"
Cardboard strips
News paper
Kingspan Foam board insulation
Fishing Line
Box cutter
Staple gun
Water
Flour
Paper Clay:
- Water
- Flour
- Salt
- Corn starch
- Premixed drywall compound
- White glue
- Paper insulation
- Hot water
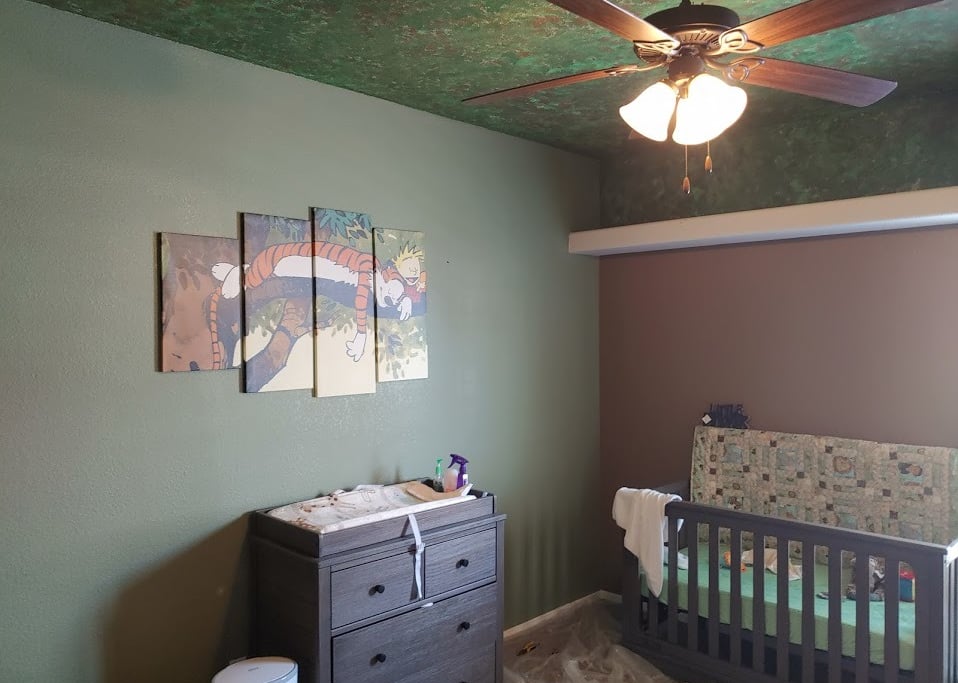
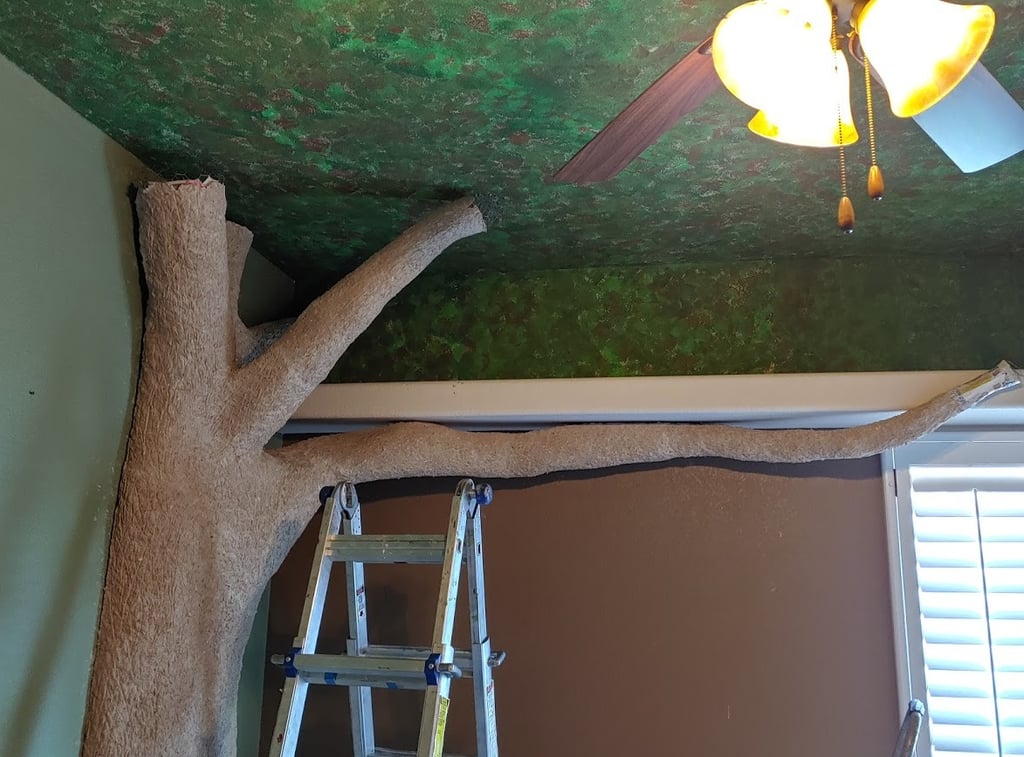
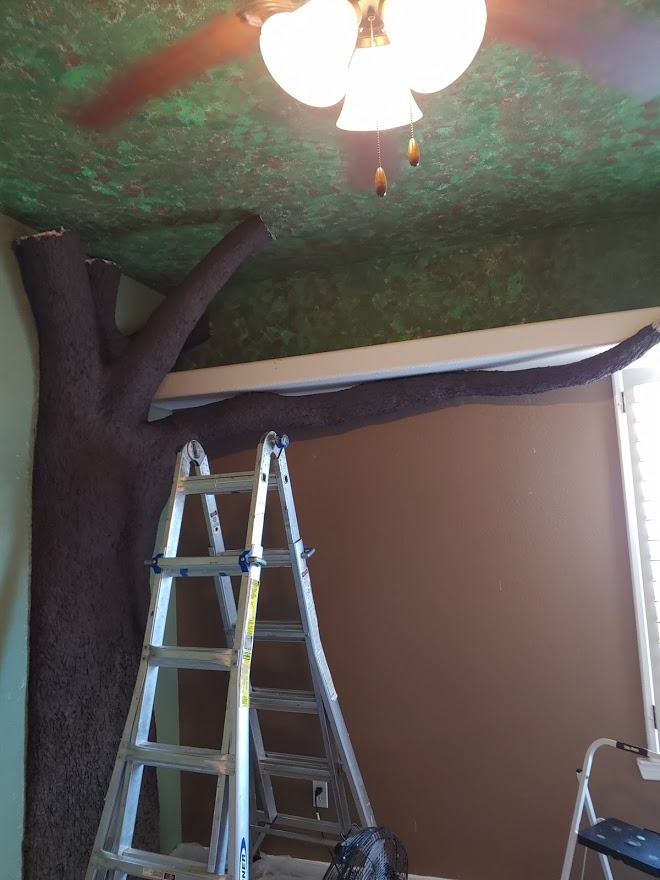
Painting the Ceiling
Sweep the ceiling to clean it and remove all vents, smoke detectors, etc. that you don't want to get covered in paint.
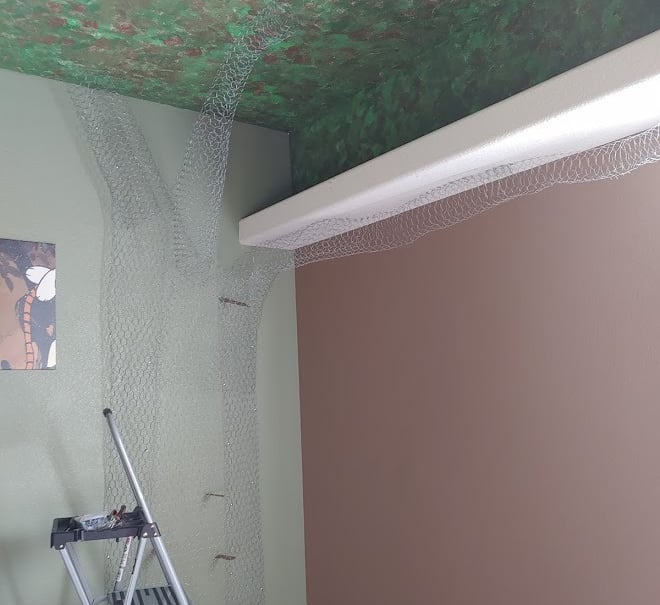
Use painter's tape and newspaper along the edge of the wall to prevent drips. Sponge paint the ceiling with at least two shades of green and one shade of brown. I placed all three colors into a paper plate and made sure the colors were all on different areas of the sponge at the same time. this allowed for some areas where the colors were mixed and other areas where they were not. This will give you a nice base for the holes visible through your leaves.

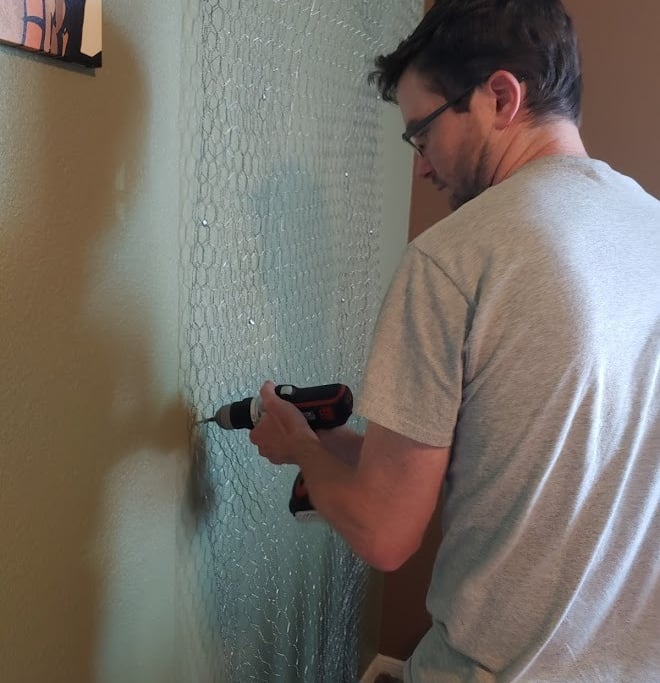
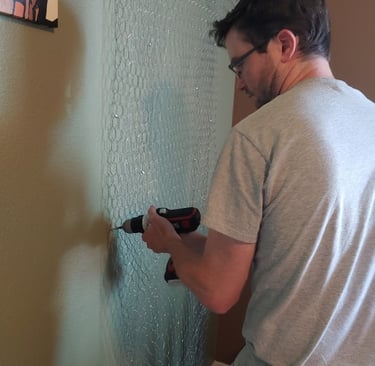
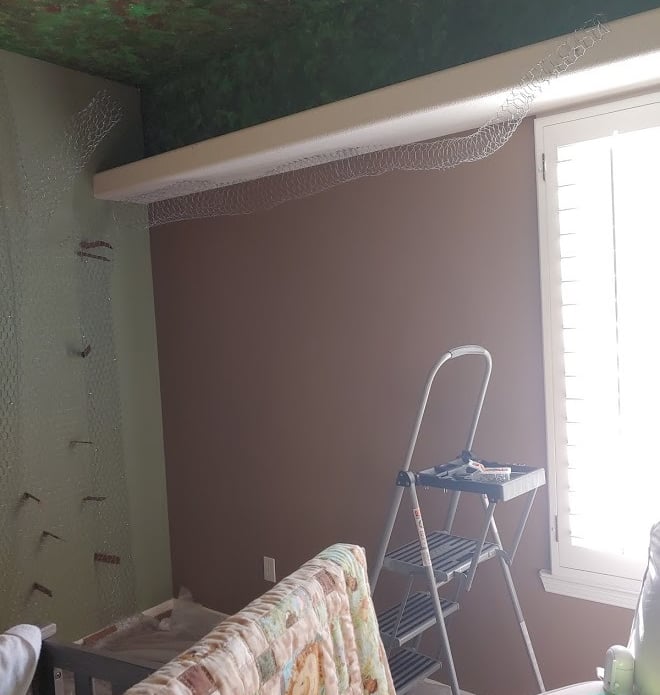
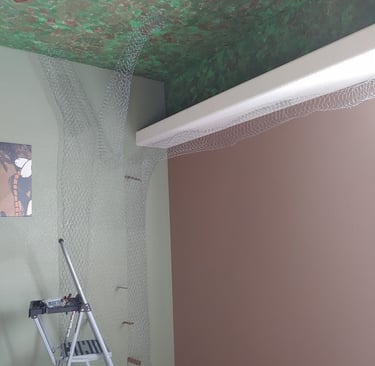
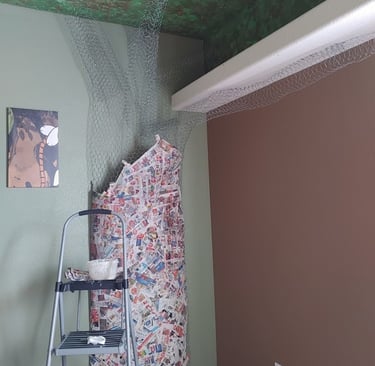
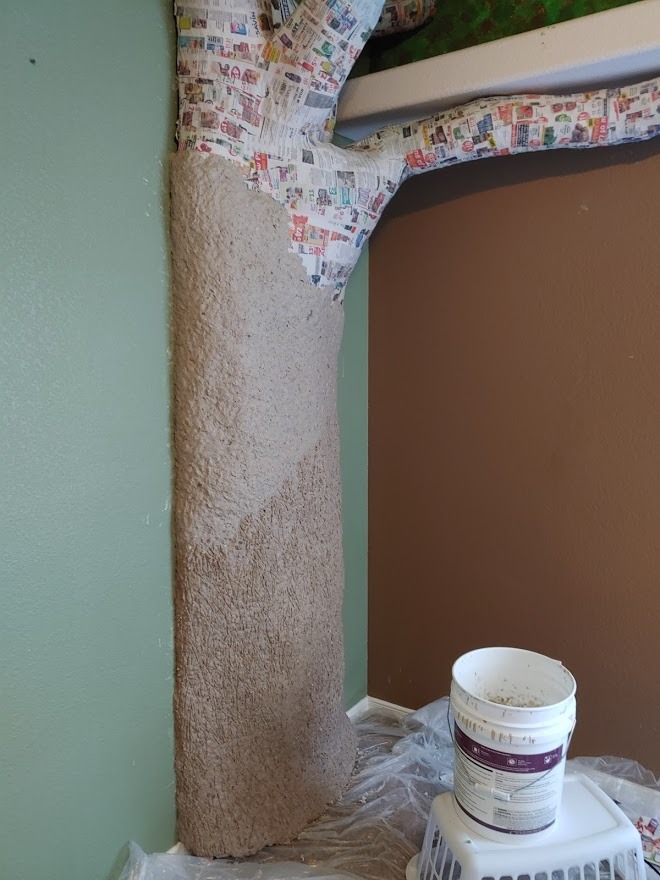
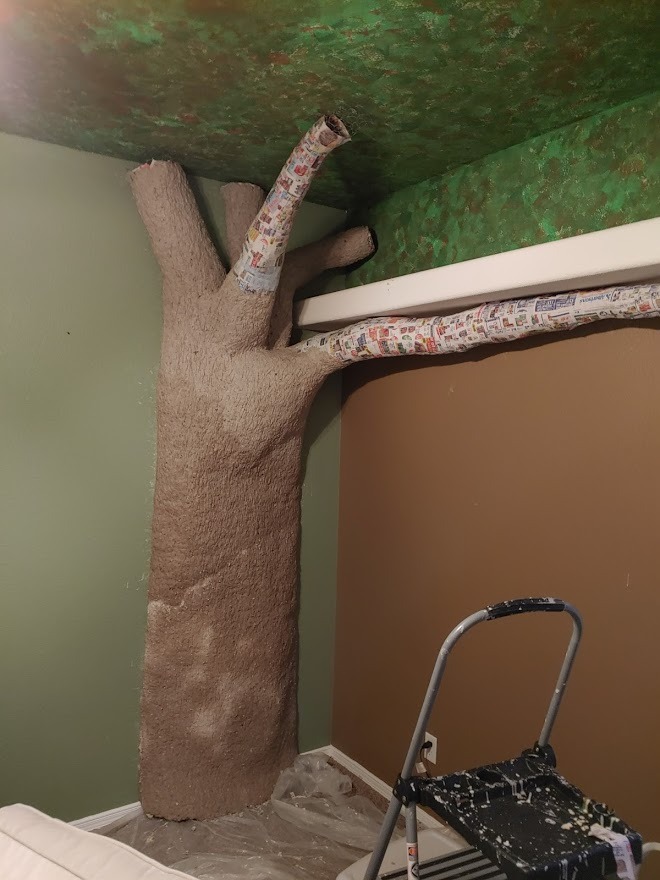
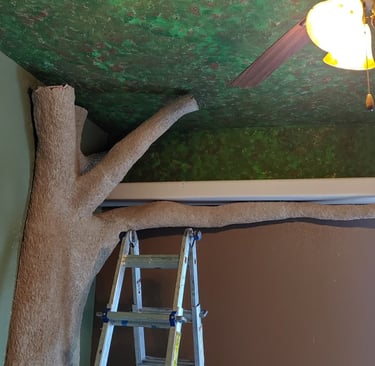
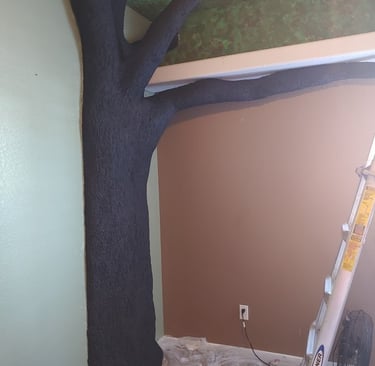
Take chicken wire and make your basic shape. Fold the edges in and screw them to the wall using wide head lath screws. Make sure you have some excess chicken wire in the middle and it is not flush against the wall.
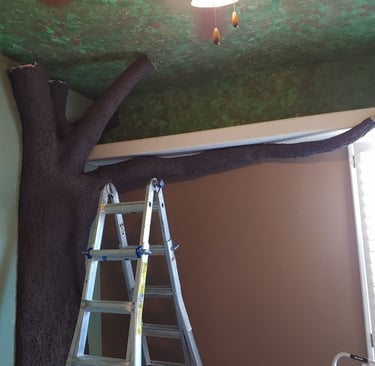
Continue shaping the chicken wire. Put support material between the wall and the chicken wire to push the body of the tree away from the wall, making a semi-circle shape. Cut the chicken wire with wire cutters to make branch points.
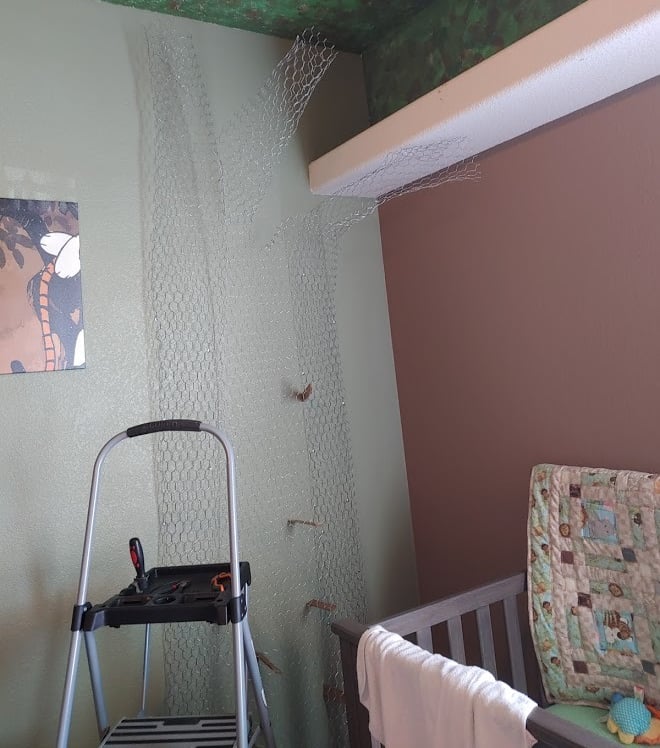
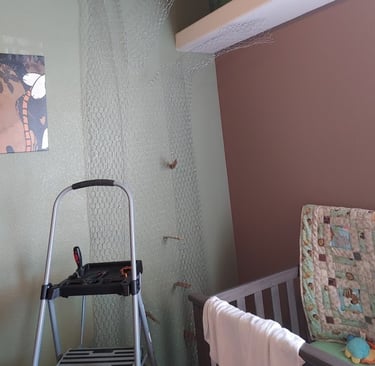
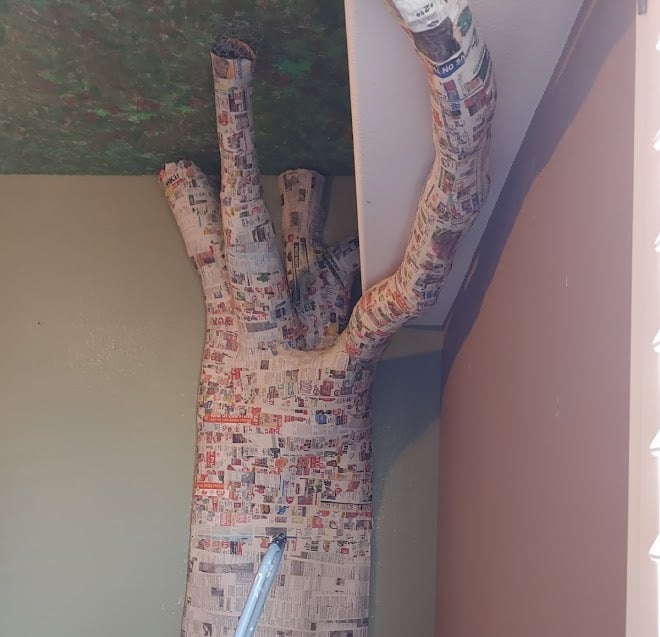
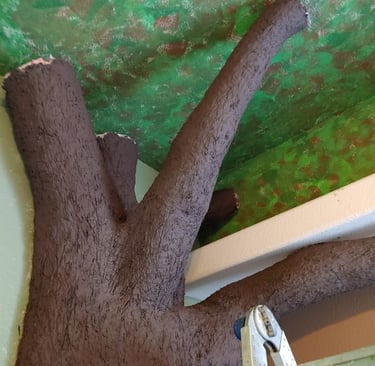
Form the branches by cutting smaller strips of chicken wire and wrapping them into tubes. Twist the cut edges of the wire together to keep the tubes in place. Secure the branches to the wall with lath screws.
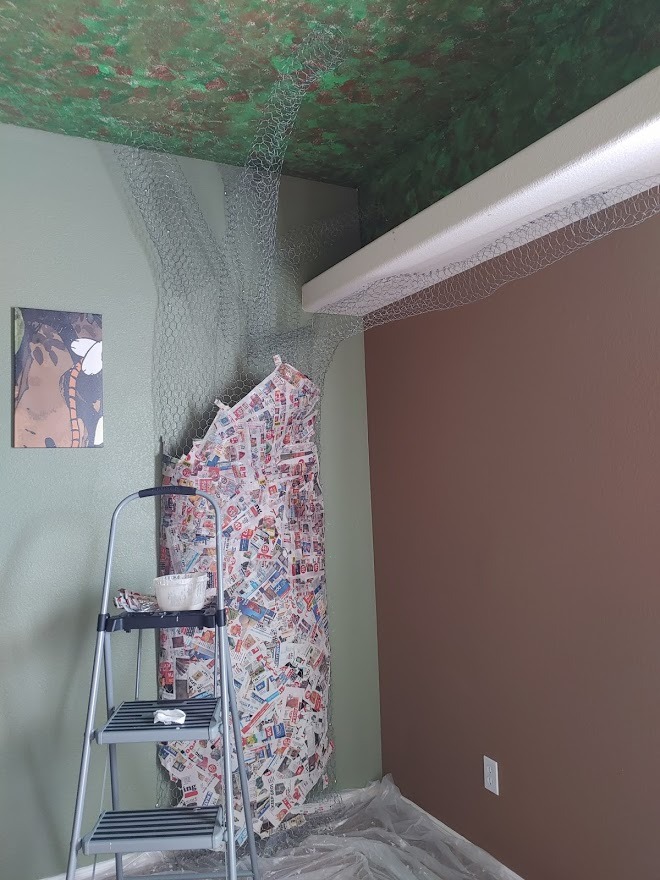
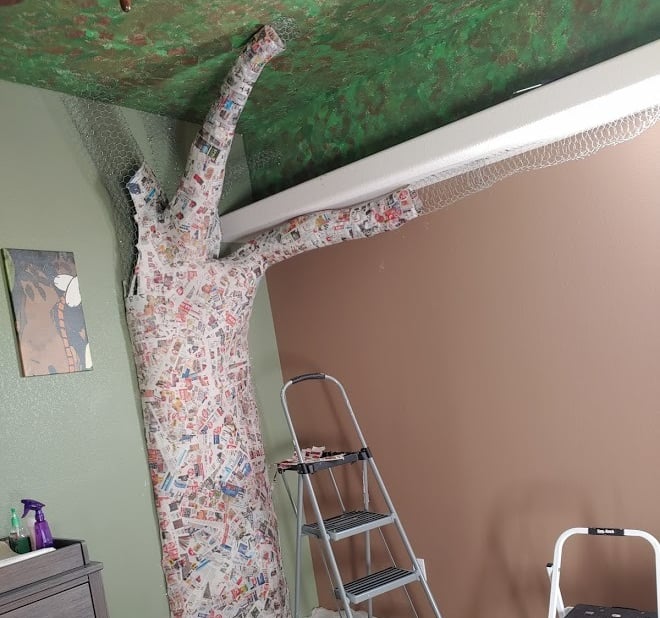
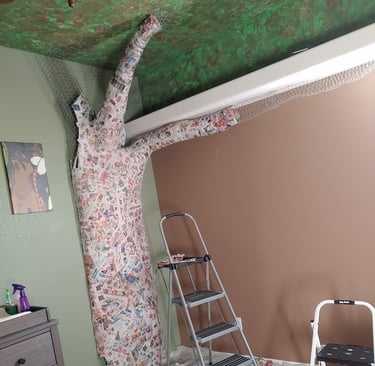
Make small batches of your paper mache glue with 1 part water to 1 part flour. Dip strips of newspaper in the glue. Wipe off any excess glue. Start by weaving the strips around the chicken wire to give yourself a base. This will get messy, so I recommend covering your floor prior to starting to paper mache.
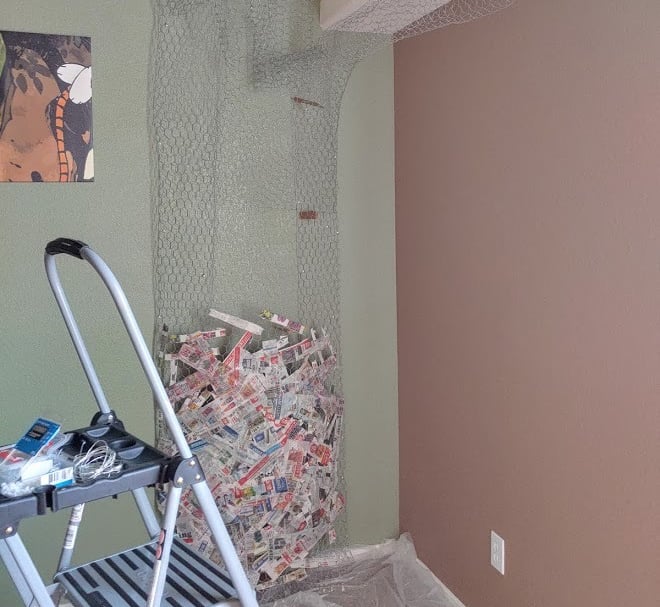
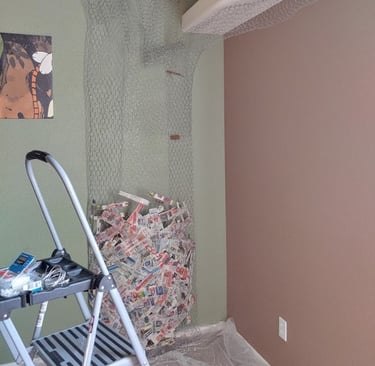
Continue adding layers of paper mache strips until you get a good layer on all of your chicken wire.

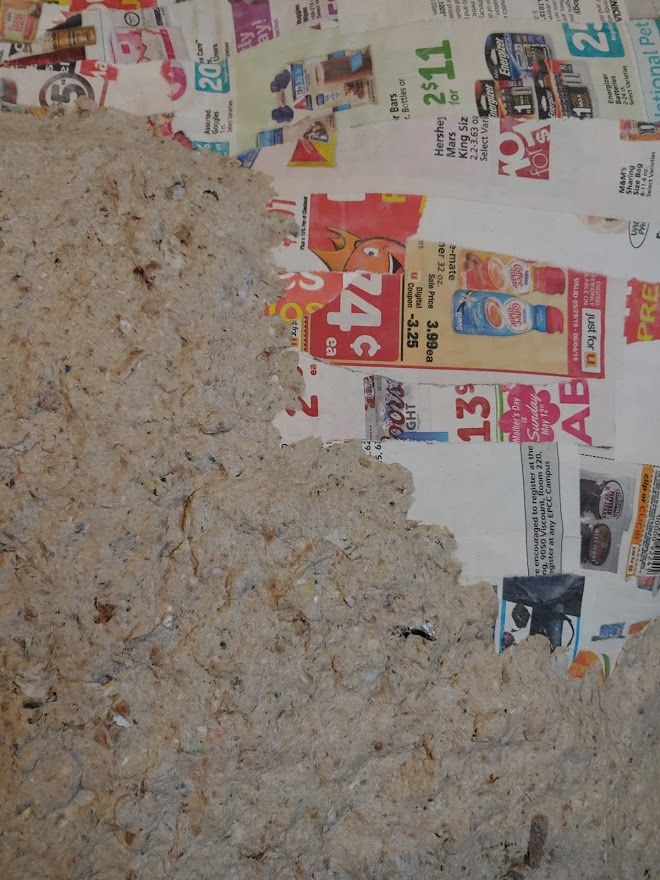
Making the Paper Clay
It's time to make the paper clay. I recommend making it in batches so you can use everything you made in one session.
Recipe for the Liquid Starch:
1 tablespoon of corn starch
1 cup of hot water
Recipe for the Clay
3 cups of flour
3 tablespoons of salt
1/2 cup of liquid starch
1 cup of premade drywall compound
1/2 cup or so of white glue
3 cups of hot water
Cellulose insulation
Add first six ingredients together and mix. Add more water, if needed, to get the mixture to a runny pancake batter consistency. Slowly add paper insulation while continuously mixing until the mixture is workable like clay and no longer sticks to your fingers. We used a 5 gallon bucket and a paddle mixer to mix the clay. The paddle mixer works well for the initial liquid and when you start adding the insulation, but you will have to finish mixing by hand once the clay has gotten to about the thickness of dry oatmeal.
Where I got the paper clay recipe (has video): https://www.sharonojala.com/2017/09/how-to-make-paperclay-video.html
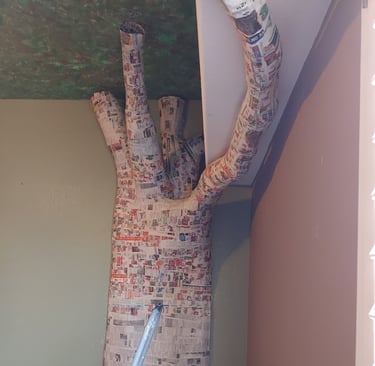
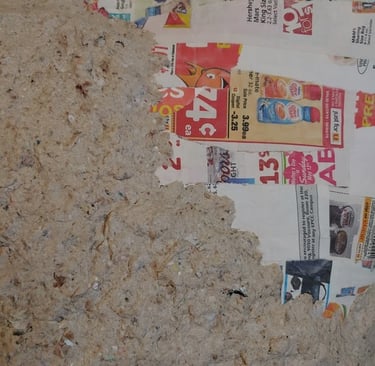
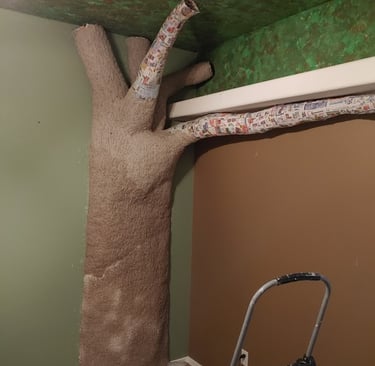
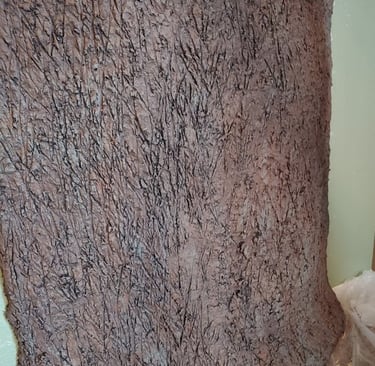
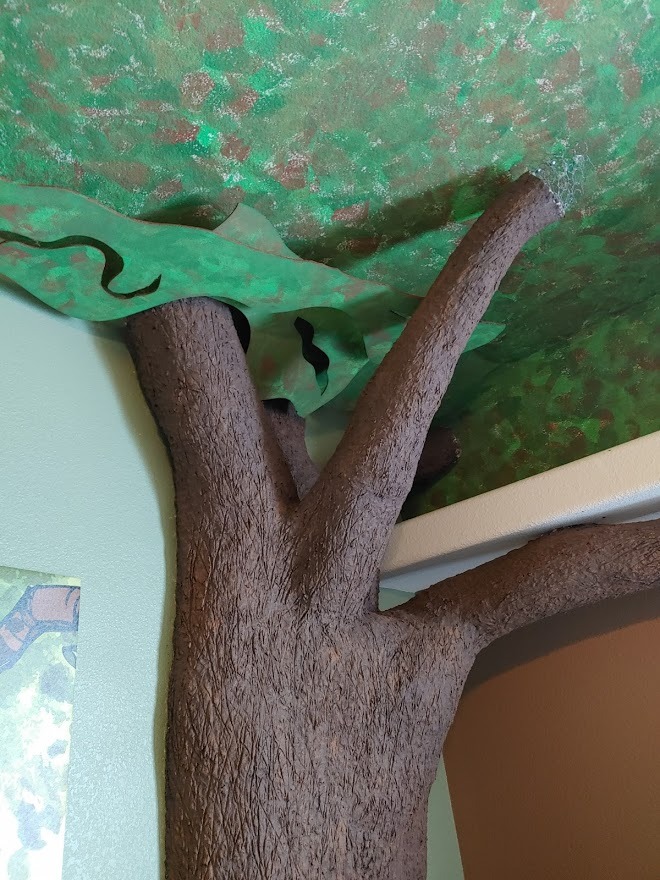
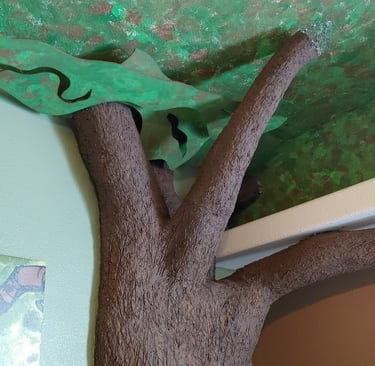
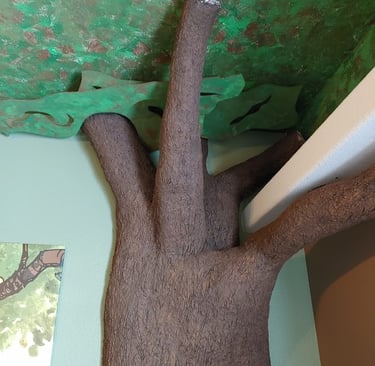
Making the Tree "Bark"
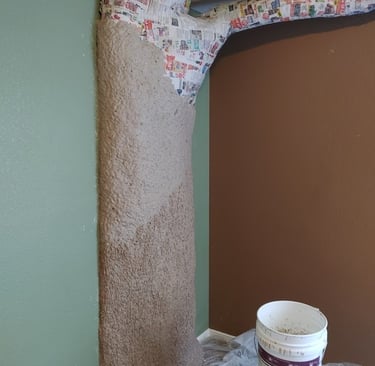
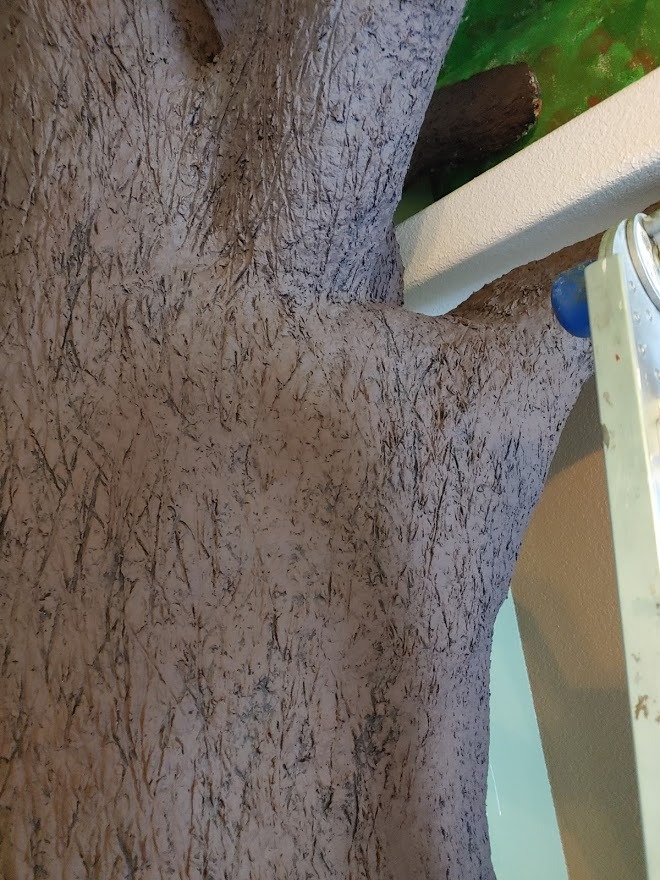
Start mashing the paper clay on your paper mache base. You want to have the paper clay thick enough to be able to texture, but no so thick as it is too heavy to stay on the base (around a quarter to a half inch). Start at the bottom to help prevent sliding of the clay. Make sure to feather any edges where you know you will be stopping for the day to decrease your seams.
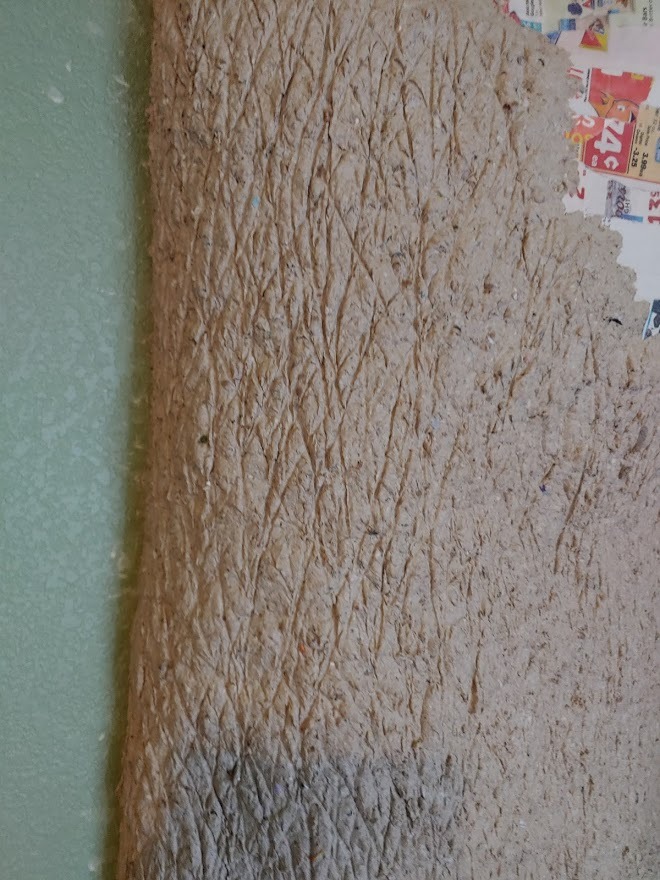
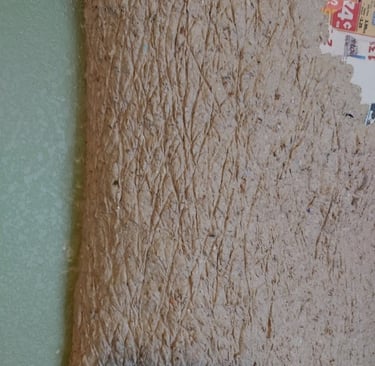
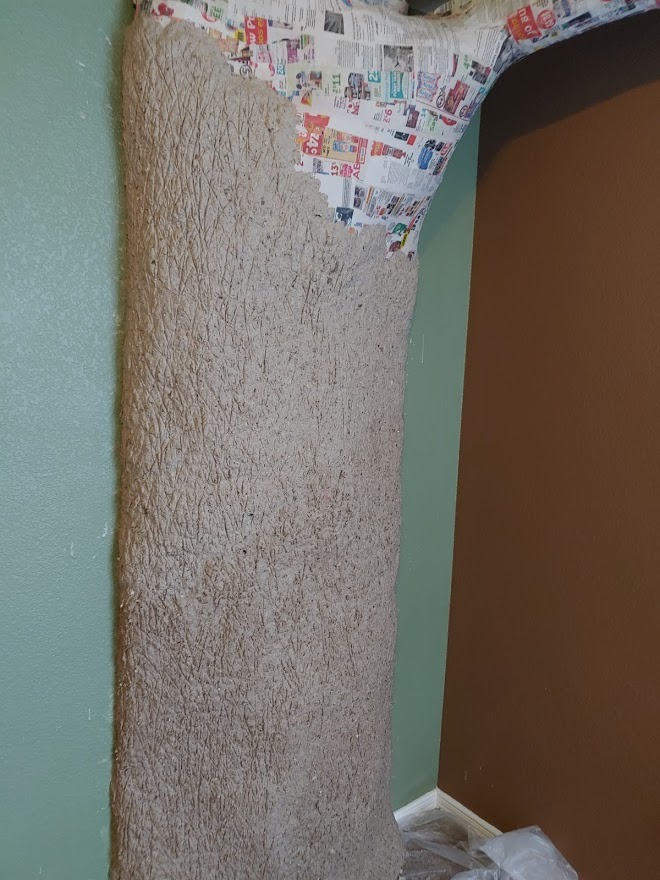
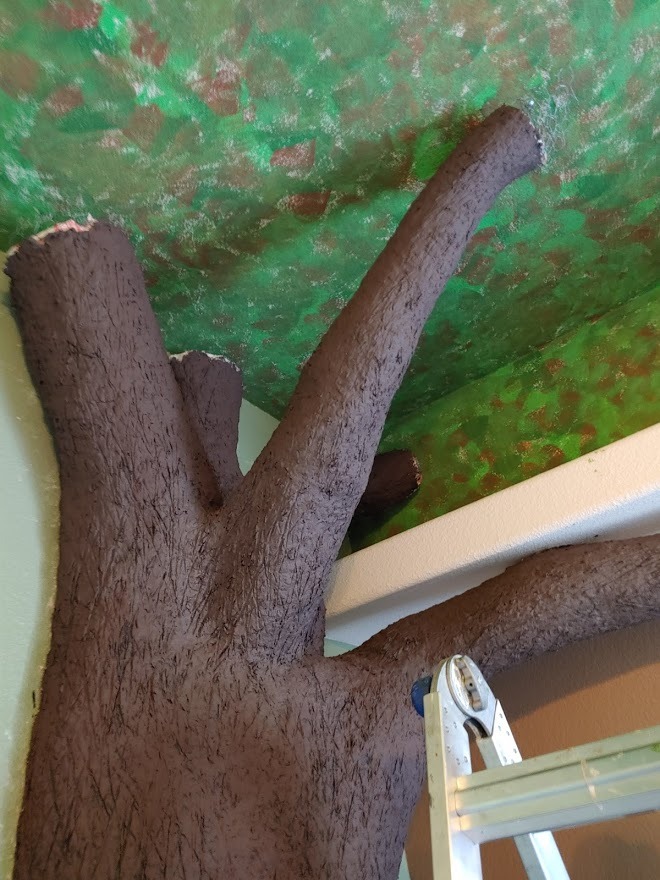
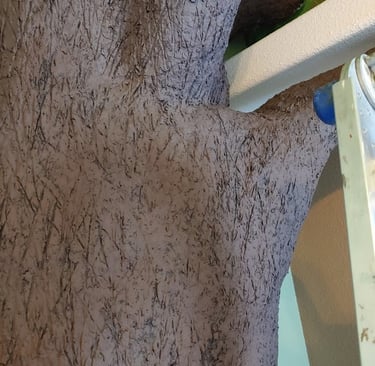
While it's still wet, texture your paper clay with a spatula or any other utensil with a narrow end. Make mostly up and down lines with quick pulling movements with your arm. Use varying degrees of pressure to create both deep and shallow grooves. Overlap the cuts in multiple areas. Keep working until you have a bark-like texture.

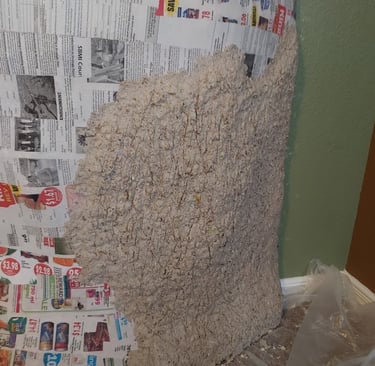
Continue working in sections until you have paper clay on the entire tree.
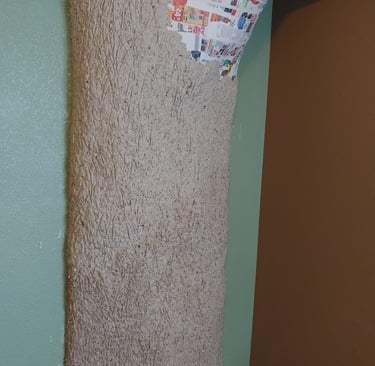
Let the paper clay dry for several days. It should feel hard and crusty with no give (much like regular clay does) when it is completely dry.
Painting the Tree
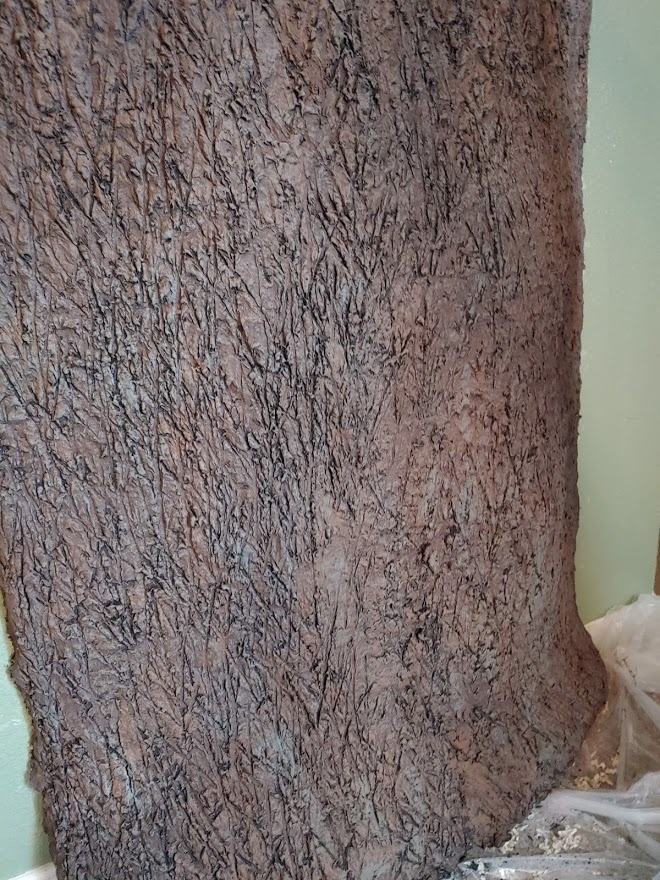
Wash the entire tree with watered down black paint (I used 1 part paint to 1 part water). Make sure you get into every little crack in the bark.
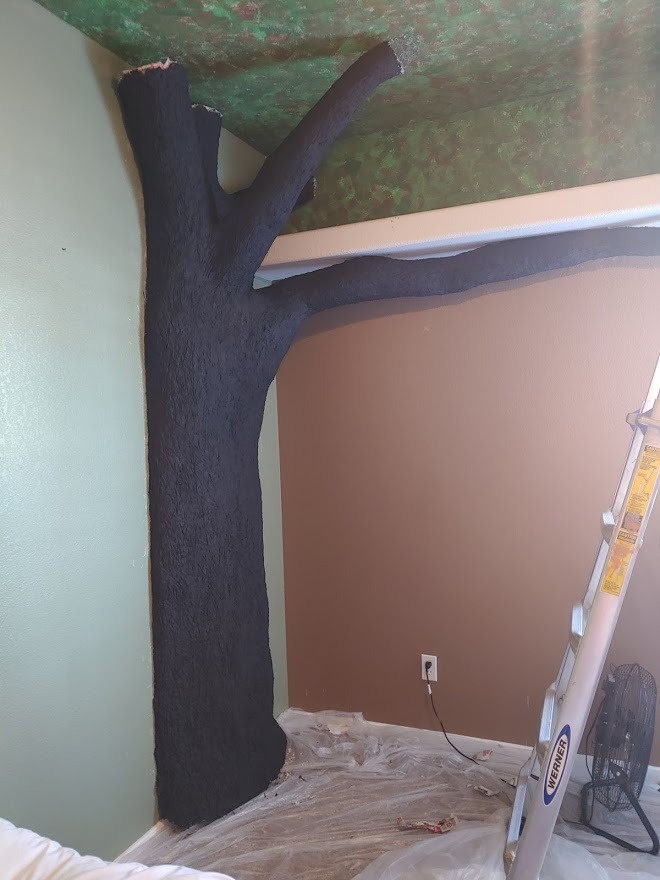
Cover the entire tree with your darkest brown paint. You want to get into most of the textured areas, but don't focus on getting into every crevasse. Some of the black paint should be showing through.
Lightly brush the bark with multiple lighter colors of brown. Your paintbrush should have barely any paint on it to make sure you do not have globs of color going onto the tree. Use long, quick streaks to give yourself a sporadic, natural look.
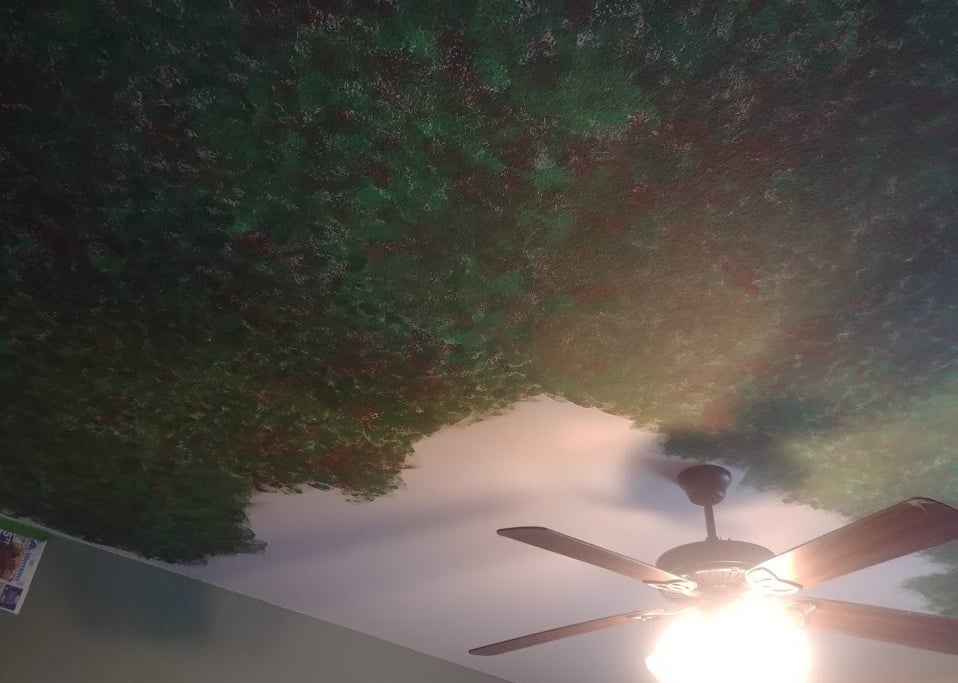
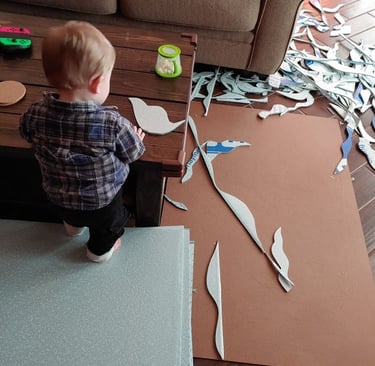
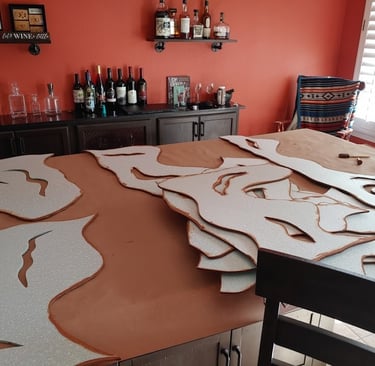
Creating the "Leaves"
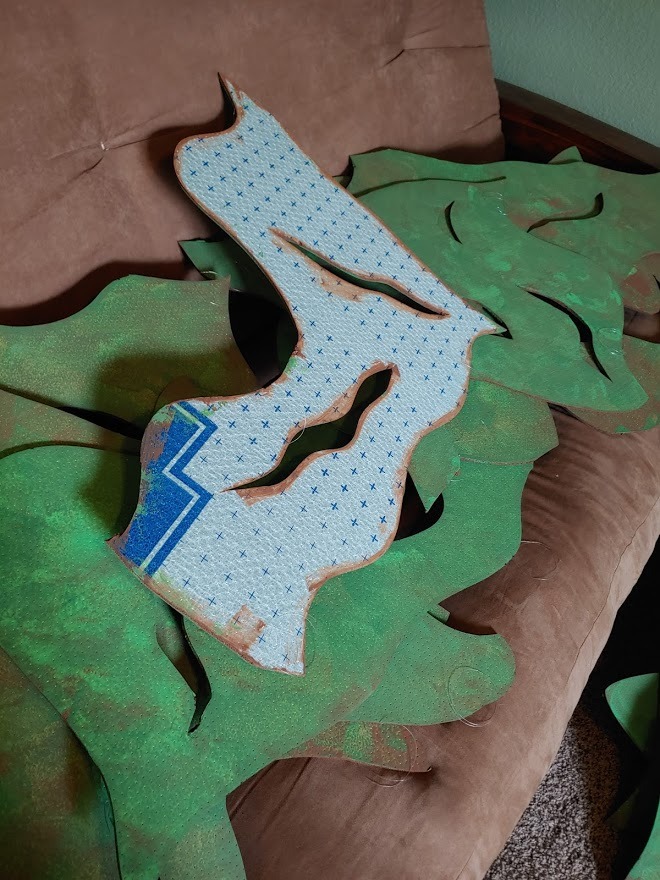
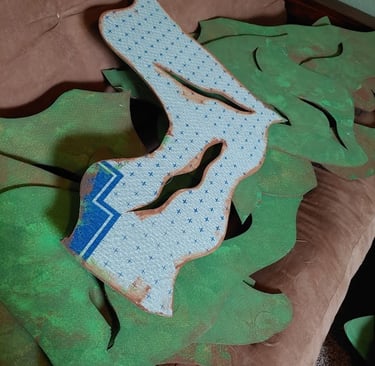
Cut your insulation into manageable panels by cutting along the folds. Cut random shapes into the insulation with a box cutter with wavy sides and sporadic holes on the inside.
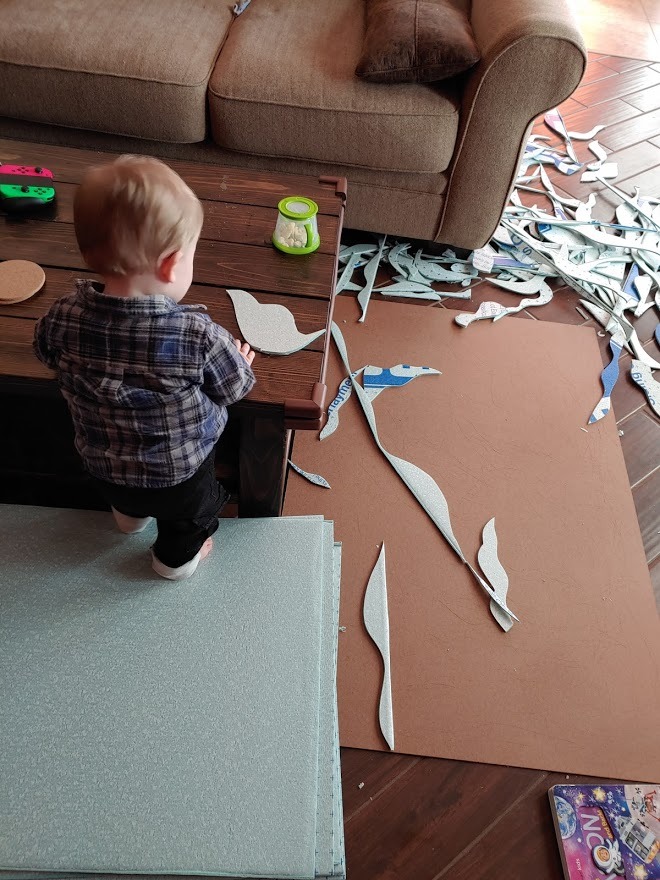
Paint all exposed edges of the insulation brown.

Attach fishing line to the edges of the leaves. Use at least four points. I found the best way to do this was to use a sewing needle to penetrate the leaves and then tie a knot on the back side. Leave one side of the fishing like at least 2-3 feet long to allow for attachment to the ceiling.
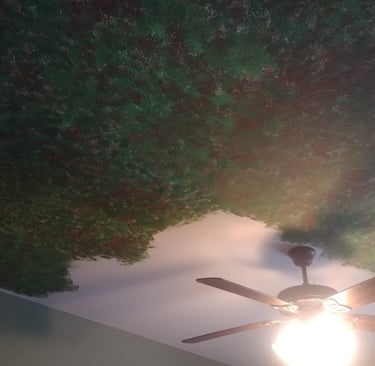
Staple the opposite end of the fishing line to the ceiling. Play with adjusting the fishing line to the proper length to give your leaves dimension without getting in the way of things like the ceiling fan.
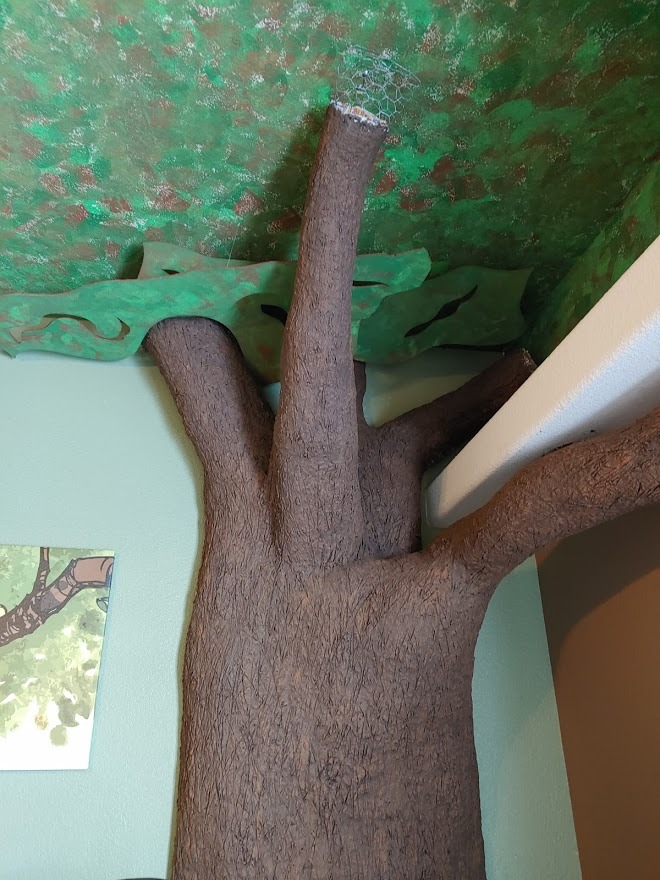
Continue covering the ceiling until your desired look is achieved. Done!